In University
University gave the a wide range of experiences in PCB and Hardware design. Several projects required custom PCBs and KiCad was the tool of choice in early years for licensing reasons. Many of my early projects were simple Arduino hats with only a couple features such as an ADC on board.
Personal Project
In later years, in Embedded Systems 2 I got to create the PCB which would control the racer body, and this included placing and soldering the individual components on the PCB.
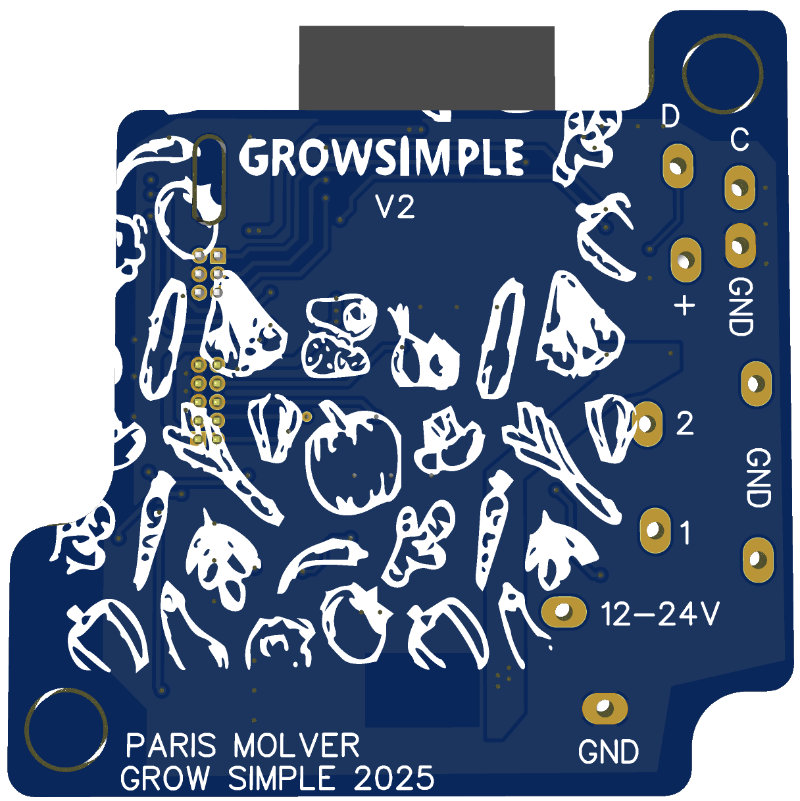
In my free time, I worked on a project called GrowSimple, this device was a simple watering device but due to feature creep, it’s resulted in a device that does more than simply turn on and off a 12V water pump. This has had several challenges, such as how would I assemble and enclose the PCB? How can I create something somewhat modular as different micro gardens require different features, and how do I provide value for a product that will be expensive due to it’s low volume nature?
Features and Challenges
The Grow Simple project was interesting to work on due to the various challenges I had to overcome;
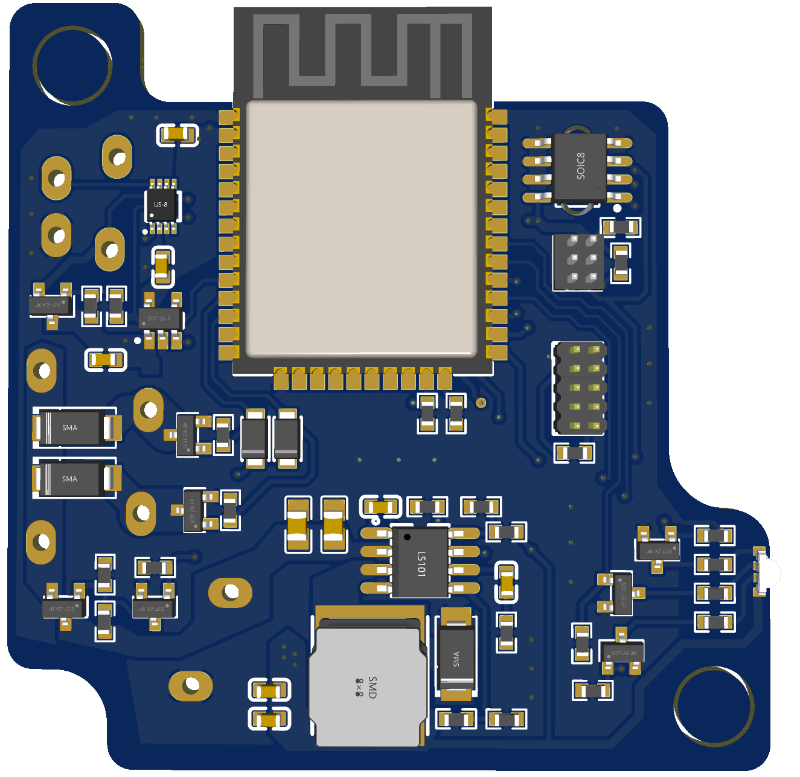
User Control – The beauty of the ESP32 is the cost and feature set, having BLE available meant I could create a web based user interface to interact with the device, without any server cost, or app store fees. The problem is feature creep and development time to implement all the features required such as file transfer and OTA updates.
Device Status – I picked a side mount RGB component and have a small acrylic tube that sits in a custom 3d printed wire grommet, this acts as a light tunnel and allows for the device status to be seen by the user while ensuring that the water tightness of the device remains.
External Modules – The D-C pins at the top of the PCB are for data and clock, I use I2C to allow for devices to be plugged into the device, and the device can scan for connected devices on boot and then display the relevant BLE characteristics. This was challenging as I was not able to find a low cost, consumer friendly plug for this application. I instead used a 4 pole 2.5mm audio jack as this is intuitive and easy to source for a low cost.
Power and PCB – The small enclosure I picked meant that I had limited space to work with but I still managed to implement a buck converter to 5V for external modules, and another 3V3 LDO regulator for the ESP32. The 5V module power was picked to allow for more variety of external modules, more power availability to them, and a better Signal-Noise ratio.
Industry Experience
Working at OnFarm Data gave me many opportunities to both work with different software, and learn from the best. Working here I learnt how to better implement power planes, share and discuss ideas for the hardware I was developing, testing and test strategies, and document both the PCB details and assembly instructions.
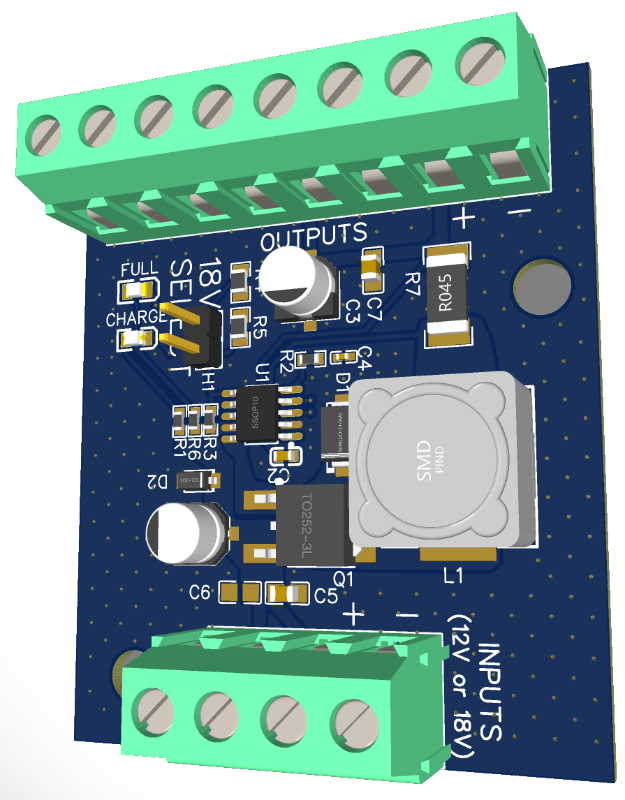
Pictured is a small project I worked on that was essentially a solar charger for a Li-ion 18650 battery which was common in our products. This allowed for two different panel types to be selected for the MPPT and charging chip.
In addition to smaller modules just mentioned, I also worked on large projects that were core to the company focus such as an exclusion Input/Output PCB. This project featured an Input IO expansion module, and a second for output, and using I2C and an I2C range extension module, a series of up to 4 PCB could be placed on a pivot controlled by a single micro controller allowing for 64 additional inputs and outputs available to the micro controller.
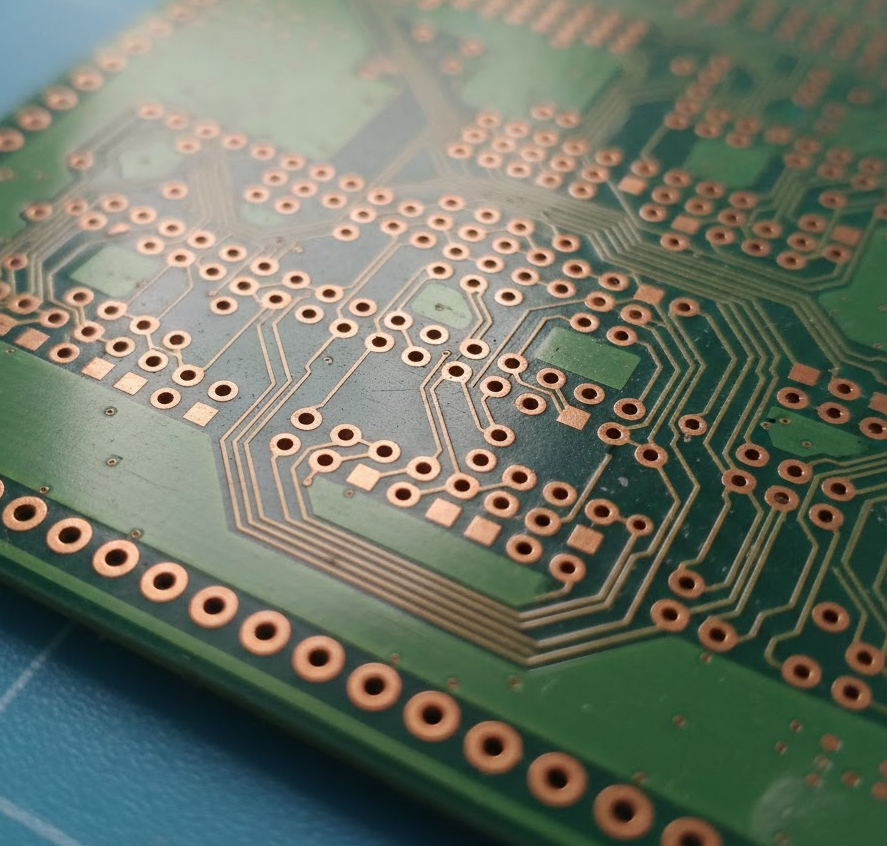
This PCB had to allow for 12V or 24V input, and the input logic had to account for 2 possible logic levels being returned. Additionally, due to the 16 channels on the PCB, this was a tight design that tested my routing and component placement abilities.
For safety, each output had a surface mount resettable fuse to ensure that in the case where the output wire was damaged, that the rest of the installation was capable of performing it’s job until the cable was fixed. There was also reverse polarity protection and an RGB led to indicate the address of the PCB to allow for easy confirmation that the DIP switch was correct.